Geoffrey J.Wayman Photography
Photo to Print Workflow Summary
Shooting my pictures in RAW enables me to extract the maximum amount of detail from the data. A RAW file is complete meaning it captures uncompressed data from the camera sensor. This means that RAW files are more detailed (they give me more information to work with in post processing) than say JPEG files although RAW files can be quite large in size.
The Aperture Priority mode on the camera is used for landscape and portrait photos in order for me to control the depth of field. Generally I use F11-F16 aperture for my landscape images. I also take note of the hyperfocal distance for different apertures at different focal lengths. I use an app PhotoPills to help work out this distance. This enables me to establish the maximum depth of field and acceptable sharpness for foreground and background.
As my landscape images are generally taken on a tripod I normally fix my ISO setting (i.e the camera sensor's sensitivity to light) to 100 which is low (although there are occasions when I would increase it e.g. a windy day and I don't want to slow my shutter speed down which could produce blur). Be aware that too high ISO can produce noise on your image that you don't want.
Equipment
Camera: Canon EOS 5D Mark II
Lens: Canon EF24-105 f/4L USM
Canon EF100mm f/2.8L Macro IS USM
Sigma 150-600mm f5-6.3 S DG OS HSM
Mobile App PhotoPills
Tripod: Velbon DF60
Camera Bag: Lowepro Backpack
Printers: Canon imagePROGRAF PRO-1000
Canon PIXMA Pro 10S
Paper: Canson Infinity Papers
Canon Pro Platinum
Ink: Lucia Pro High Longevity Pigment Ink
Mount: Archival Conservation Mounting Board Artcare Archival Foam Board
Computers: Apple iMac
Apple MacBook Pro
Monitor
Calibration: Datacolor Spyder5Pro
Software: Adobe Photoshop 2024
Adobe Lightroom Classic
Canon Digital Photo Professional
Canon Print Studio Pro
Lighting: ESDDI
When capturing an image I try not to over think the composition. I generally have a feel or mood for the image I'm trying to achieve. There are, however, a few principles to composition I try and follow: have leading lines to draw the viewer into or through the picture; have a centre of interest or focal point; have a balance in the image (you could use the rule of thirds as a starting point).
After taking images I always use the histogram on the camera to inform me whether I have captured a reasonable amount of tones at each brightness level. This is very important for me as I use this information to provide exposure correction for the next shot I take.

Printing and Framing
My workflow on the computer starts with calibrating the monitor and then importing my pictures into either Canon Digital Photo Professional or Adobe Photoshop Lightroom for the post processing and printing. I try to avoid doing too much post editing but generally may increase the detail and possibly do some dodging and burning. The main aim of the editing for me is to try and reflect the mood and feel of the scene or subject when the image was taken.
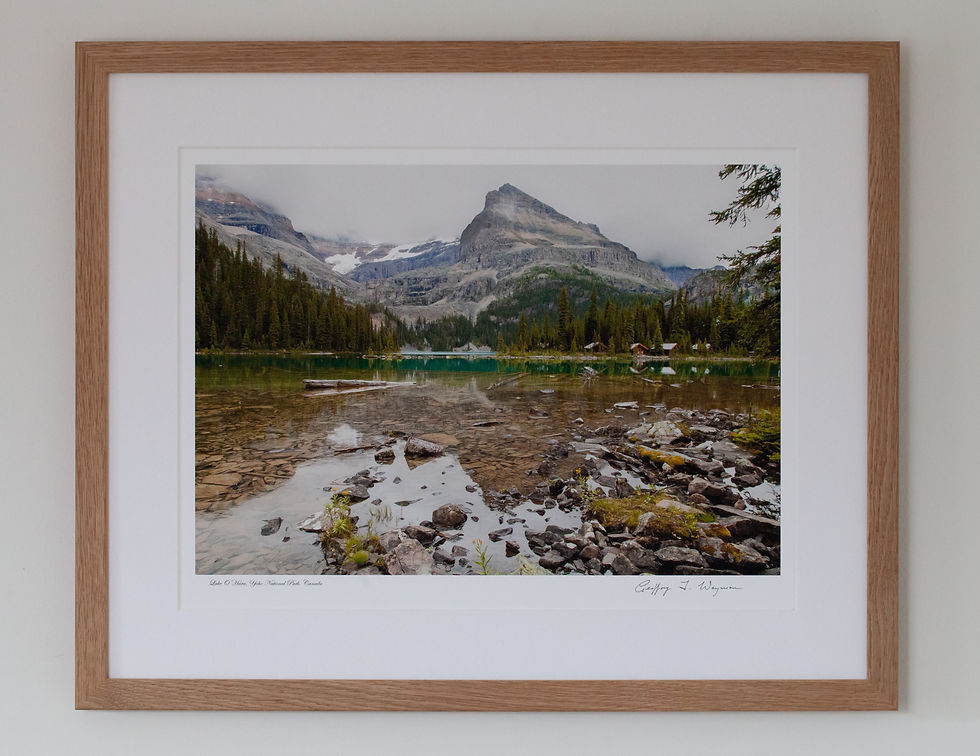
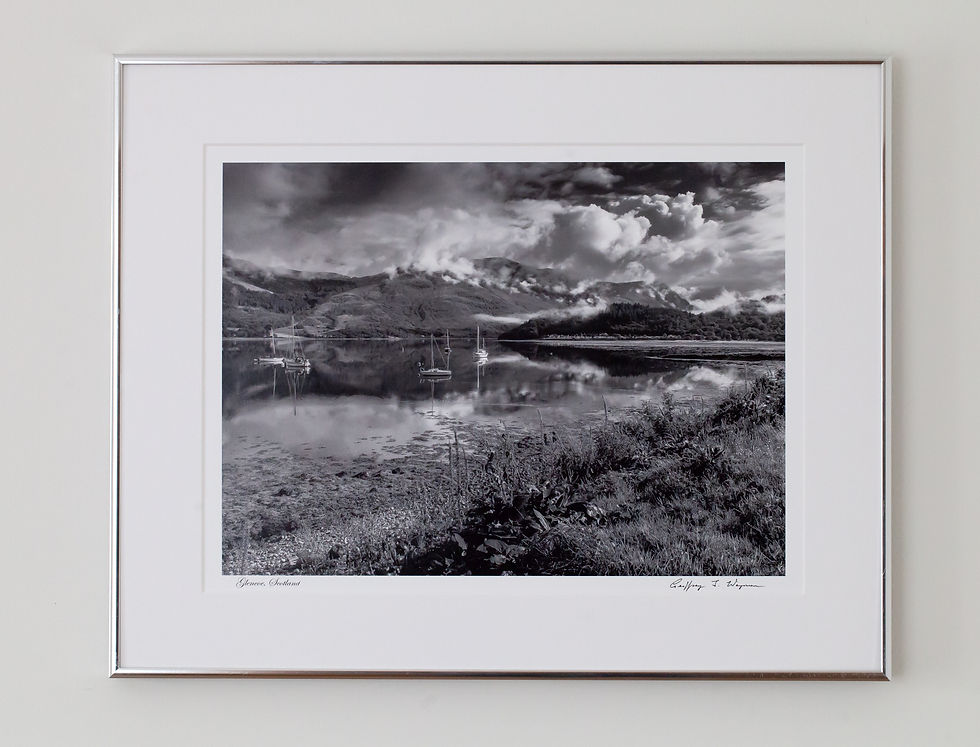
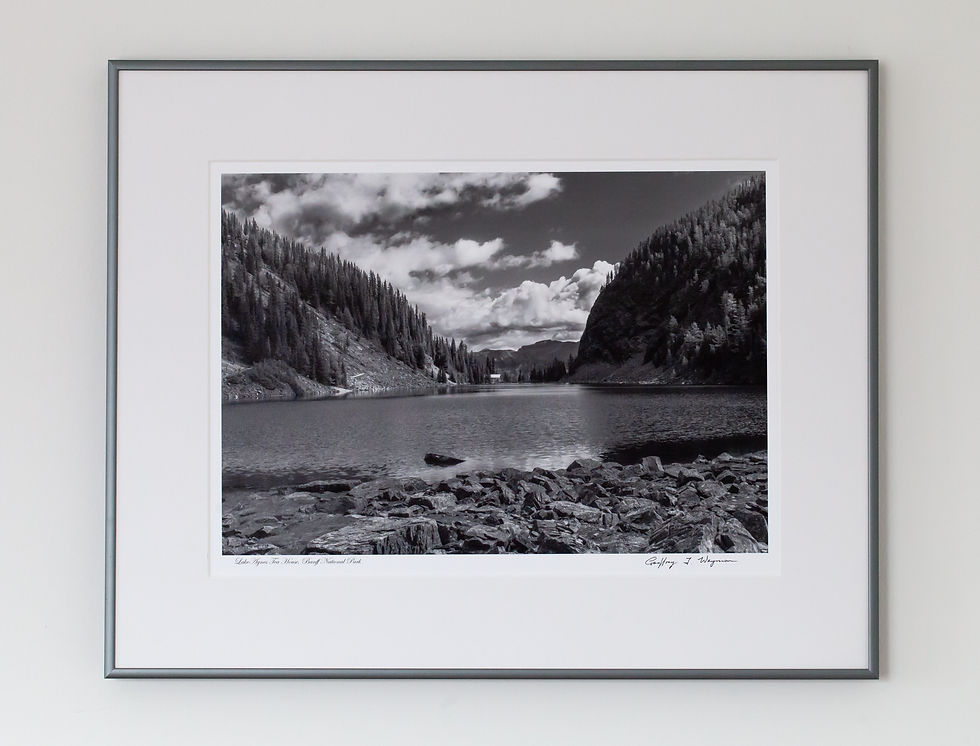
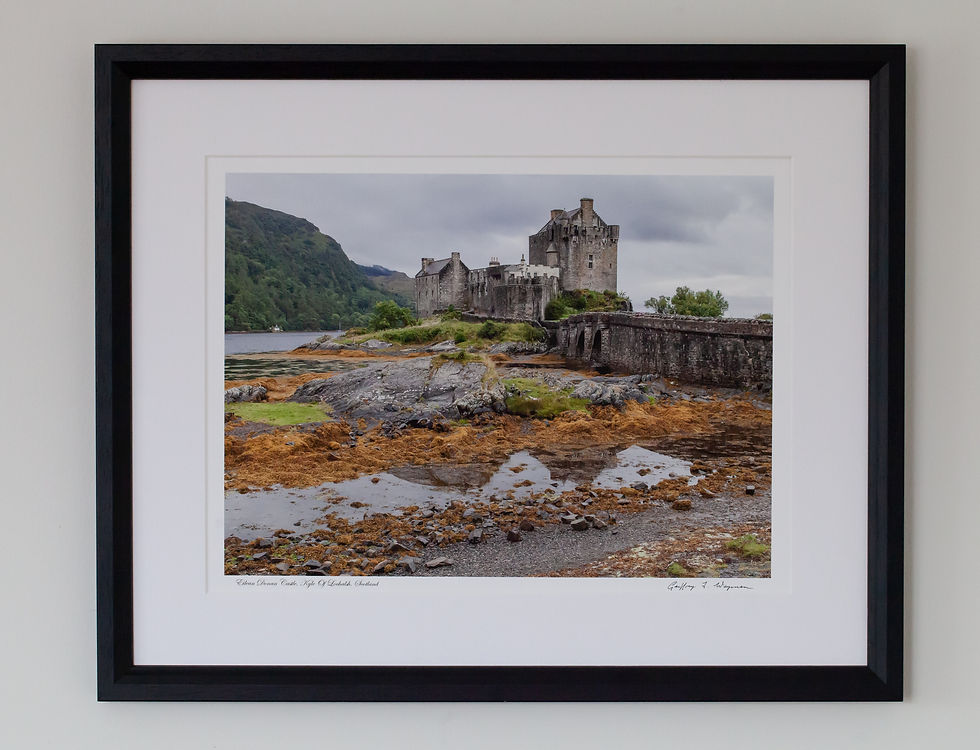
All prints are fine art Giclee. Some are limited edition. I do the majority of my printing on a Canon ImagePROGRAF 1000 inkjet printer which uses longevity Canon Lucia pigment ink. Quality paper is used from either the Canson Infinity range for Landscape images or Canon Pro Platinum paper for the shell collection. Canson paper include Rag Photographique (100% cotton museum grade white fine art paper) for colour prints and Baryta Photographique (museum grade photo paper with excellent black density) for black and white prints. Both ranges guarantee maximum print longevity. Printer ICC profiles are used to achieve accurate colour on specific papers.
The quality of the prints far surpasses the image you see on your computer screen. Please note that the colour reproduction accuracy that you see in the gallery or product page depends upon the device being used to view this website. All prints are matted using 4/ply conservation archival snow white matt and backing board that are acid free. I sometimes also use Artcare Archival Foam Board. Each print is signed and comes with a Certificate of Authenticity guaranteeing originality. Prints come unmatted, matted only or matted and framed. I find that black Ayous bevelled frames or medium oak flat frames work well for my colour prints and Nielsen aluminium silver or pewter frames work well for the black and white prints. I generally use 2mm float glass although there is the option to use Tru Vue Conseration UV Filter glass or Tru Vue Ultra Vue (non-reflective) glass to give added protection and clarity.
Fine Art Prints can be purchased unmatted, matted only or matted and framed via the
Etsy Account or please contact me directly.
Panoramic (stitching images)
My panoramic photos generally use 4 to 8 images that are stitched together during post processing in Adobe Lightroom. I always take the images using a tripod enabling me to get good alignment. I take the images in RAW so there is no compression or adjustments to the images. I take a few test shots in Aperture priority mode to check the sharpest in foreground and background. Once I am happy with the image I make a note of the aperture, shutter speed and ISO and any compensation settings. I set the camera to manual mode and use the same desired settings on all the images. This is so the exposure will remain constant for every shot. I also use the same focal length to keep a constant sharpness on the final image and also set the white balance. If you take the images vertically (more images will be needed) you will have more merging room for the stitching software, although saying that I do take a great deal of panoramic horizontally with great results. Each image must have about a third overlap. All images (unedited) will be merged in Adobe Lightroom. Any editing can be done post merging. Because the resulting panoramic file has a large resolution, quality printing to a large scale is possible.

MacroPhotography (focus stacking - shell collection)
The fact that I typically select a wide aperture (to let more light in) to capture close up subjects the resulting depth of field becomes very narrow leaving large parts of the subject out of focus. Closing down on the aperture (which can cause diffraction and reduced sharpness) doesn't really help as it doesn't give enough sharpness throughout the frame.
When I captured images of my shell collection, to overcome this depth of field issue, I used focus stacking. Focus stacking basically means bracketing a number of images of a subject at different focal points and then blending the images into a single image with a resulting greater depth of field.

All photos of the shell collection (which are obviously static) were taken using a tripod for stability and my Canon EF100mm F2.8 Macro lens (which is really sharp). I captured about 15 -20 images of each shell at different focal lengths. I then blended the images into one single image during post processing in Lightroom. The resulting shell images were perfectly in focus!